In Flint, fonts can either be created using anti-aliasing of pre-installed system fonts or can be imported from the set of images under resource folder.
Font Name: Users can select the fonts available under the font name list. Eg. Alef, Calibri, Times New Roman, etc.Ensure you have the license to use this font.Users can install a new font if the font of user’s choice is not available,
Note: Select ‘Install for all Users’ Option to add new fonts.
Font Size: To set the approximate height of the font.
Fit Height: Users have the option to manually adjust the font height if the pixel size is not known.
Default Size: Users can choose this option to set the font size in pixels.
Font Style: Used to make the font - Italic or bold.
Minimum width: Users can set the smallest width to be provided for each character, irrespective of its actual width.
Character Set: choose the type of characters to be exported. It can be alphanumeric, numeric and custom.
Alphanumeric – Most of all the characters
Numeric – Only numeric characters
Custom – User Specified characters only. For example, for an auto-transmission vehicle cluster only the characters PRNDL can be exported. In the preview section, we can view the changes that we have made to fonts. We can set the character values along with seeing their ASCII values.
Unicode file - Flint supports multilingual fonts, which can be achieved by choosing Unicode files in a character set.
Sometimes, applications may demand using shaded or colored fonts, that are created with image processing tools. Flint supports using these image-based fonts, by selecting Font Type as ‘From Images’.
To import the font images, we need to simply copy and paste the images into images folder under the Resources folder.
Now click on Add. Set the character value and select the desired font image that we have imported, then click OK. We can view the added font images in the preview section.
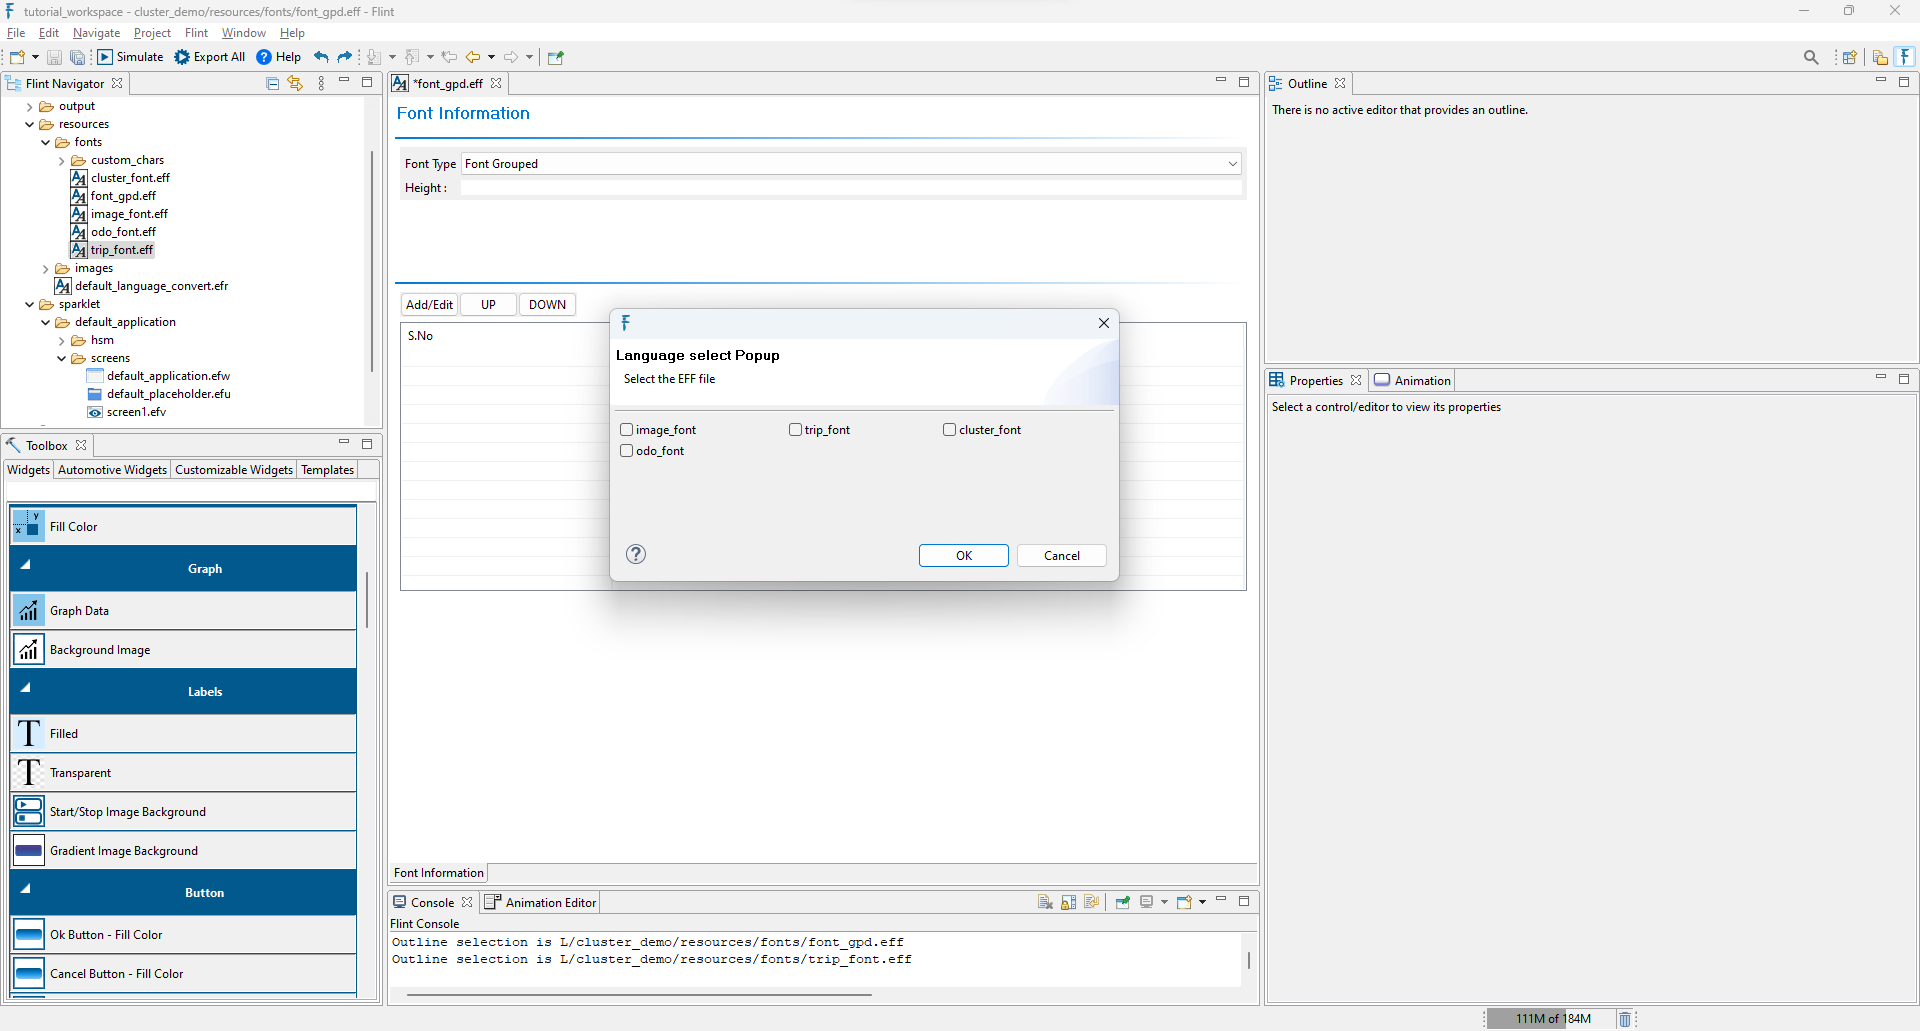
We have two font files added here now with different styles and sizes. The first font file (trip_font) is a numeric set, while the second (cluster_font) is alphanumeric.
Now, let’s drag and drop the labels widget into the design view, map the font grouped file to the widget.
By Simulating the project, we can see the variable size fonts in a same textbox as shown below