Project Installation Setup (Linux)
Prerequisite
Click the below link and follow the steps to install eclipse for Linux.
once installed launch the application
Installation Steps (Example)
Here project installation is provided below for Linux environment . For example DoIP project installation is implemented below. Likewise for all projects the procedure will be same.
After launch the eclipse, Open the project workspace file location(Embien provided files located folder) path look like ${PROJECT_DIR}/build/linux_x64_eclipse_ws.
${PROJECT_DIR} - > unzipped RS_DoIP_Evaluation_Version directory.
In the eclipse, open File->import->general->existing projects into workspace and the below window open
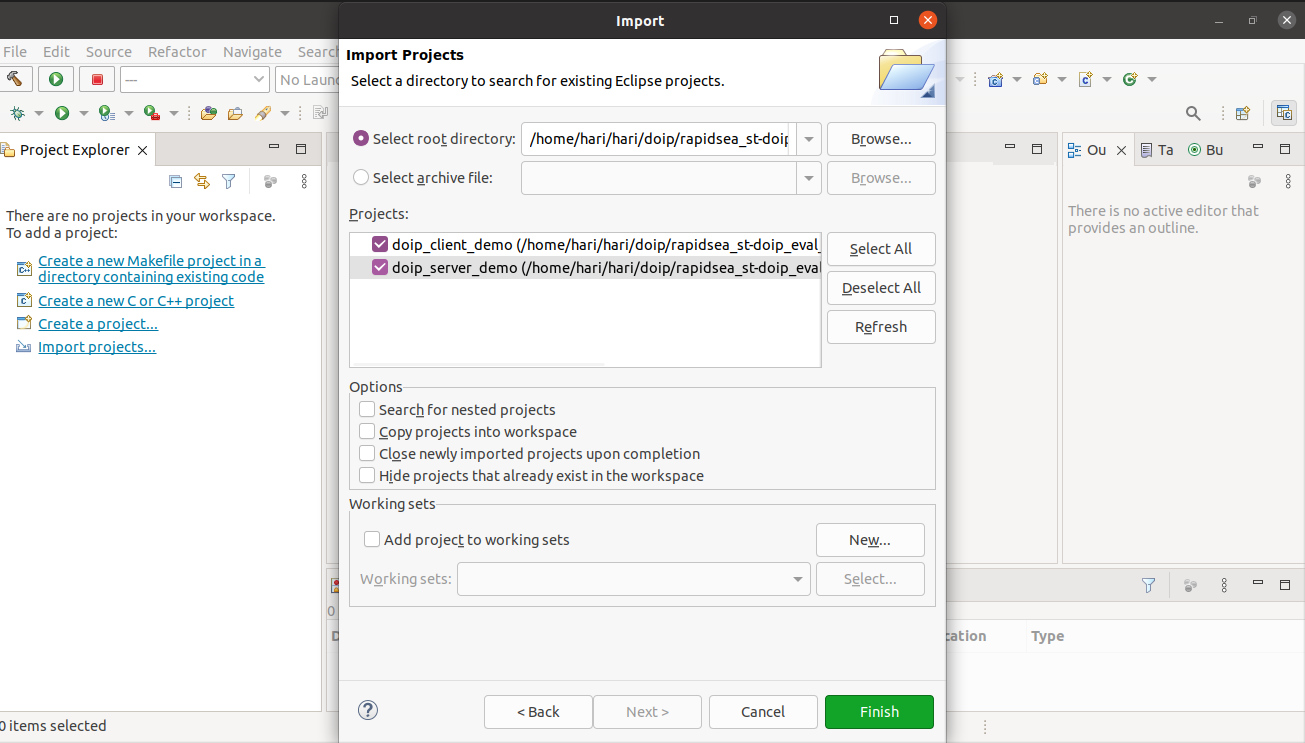
Open the doip_server_demo and/or doip_client_demo as per required
After update the macros, Built the project by right click on the doip_server_demo/doip_client_demo and clicking built project.
After project successfully built, doip_server_demo/ doip_client_demo output binary generated in the below path.
Linux Server Executable Path
${PROJECT_DIR}/build/linux_x64_eclipse_ws/doip_server_demo/Debug
Linux Client Executable Path
${PROJECT_DIR}/build/linux_x64_eclipse_ws/doip_client_demo/Debug
Evaluation Version in Linux
Download the Zip (RS_DoIP_Evaluation_Version) file from one drive link and extracted them in a separate folder.
Note: This is an evaluation version, so it is run for 15 minutes only.
For documents, kindly review the index.html in the below path in the extracted folder.
RS_DoIP_Evaluation_Version/documentation/html/index.html
${PROJECT_DIR} - > unzipped RS_DoIP_Evaluation_Version directory.
Application run in Linux
Open the terminal in the above folder and run the below command.
Note: Before run the client we need to run the doip server on another terminal or eclipse.
$ ./doip_server_demo
$ ./doip_client_demo