Clock widget

Here are the steps to utilize the Clock widget:

  • Drag and drop the Clock widget onto the design view and adjust its size as needed.

  • Customize the five default layers of the Clock widget (Background, Foreground, Hour Hand, Minute Hand and Second Hand image layer) by adding images.

Clock Widget :width: 100%

Clock Widget

  • In the Advanced Properties section, configure the widget by mapping the Data variable to “Cur Val,” and defining the Minimum and Maximum range.

Advanced Properties settings :width: 100%

Advanced Properties settings

  • Please note that the data type for the clock widget in the data variable should be set to Date Time.

Data variable :width: 100%

Data Variable

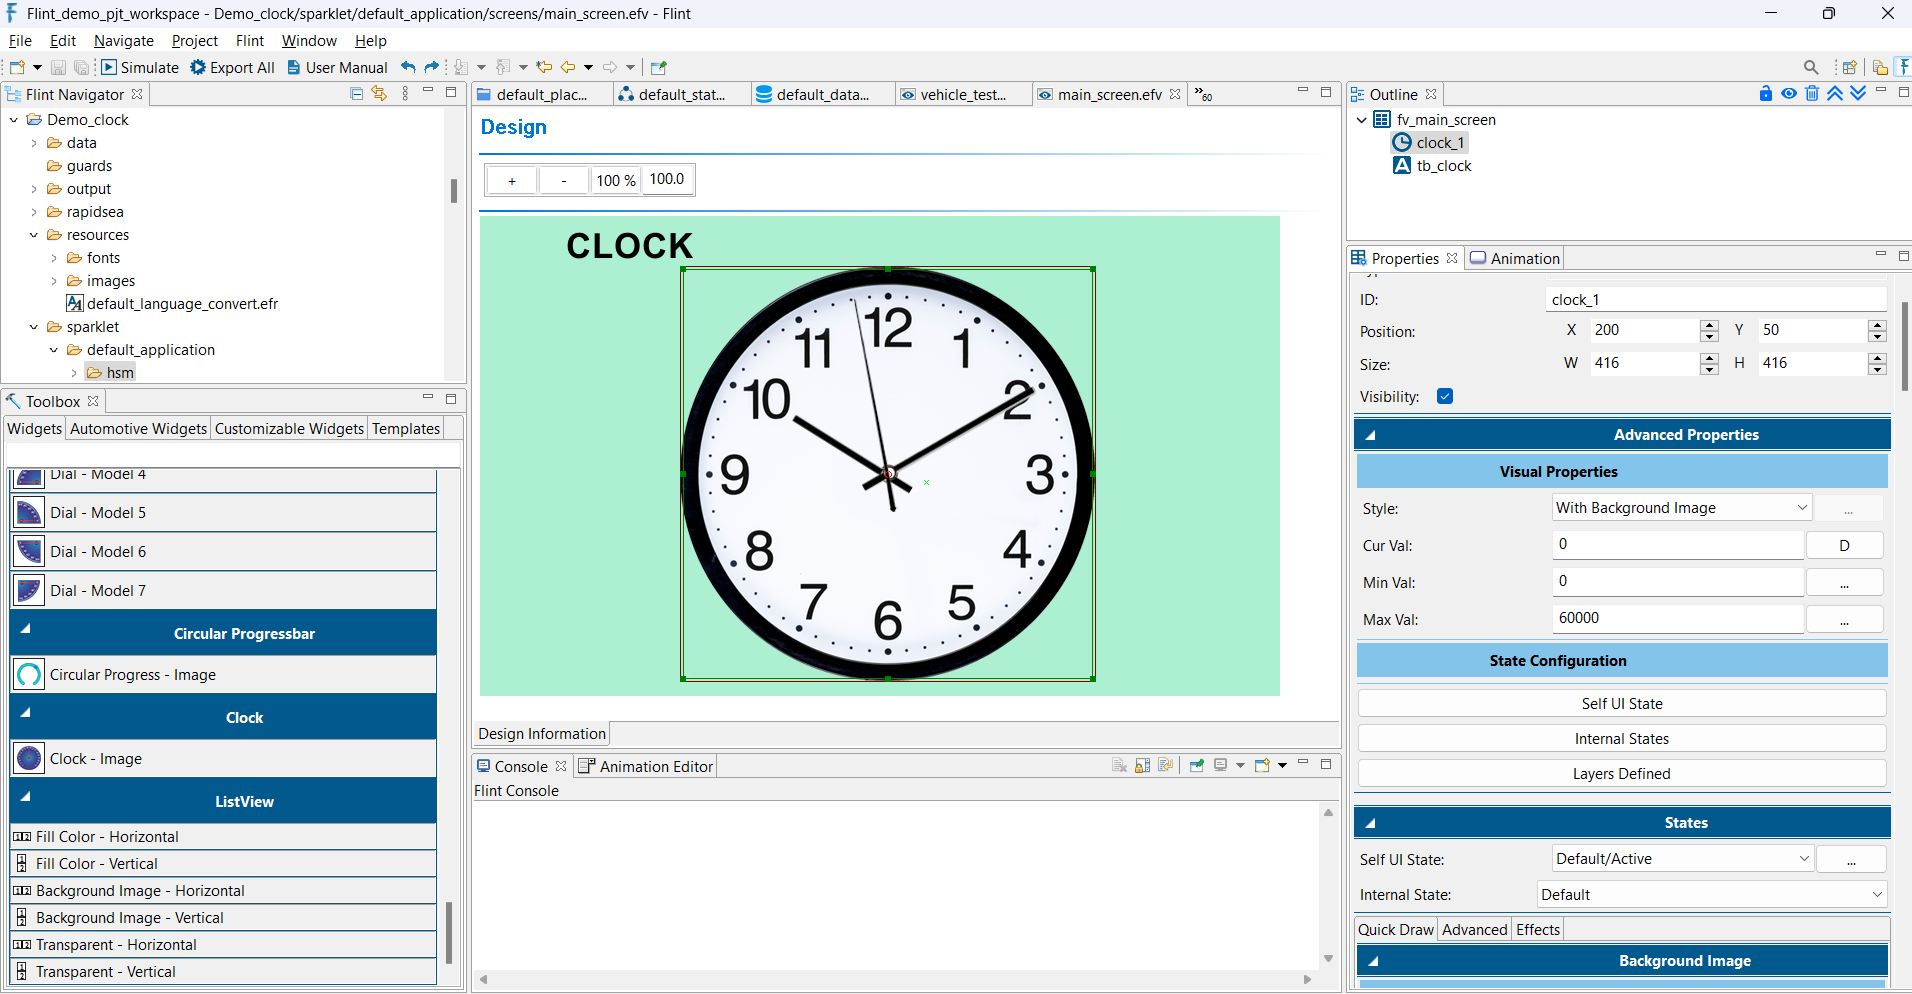
  • Navigate to the Advanced tab within the Properties section. For the Hour, Minute, and Second Hand Image layers, set the Image Style to Rotated Image. Configure the Pivot and Center (the axis of needle image rotation), along with the Start Angle and End Angle. Map the Widget data to Current Angle.

Advanced Properties :width: 100%

Advanced Properties

  • Export and simulate the project. Input the data value in the hh:mm:ss format.

Clock Simulation

Clock Simulation

Tips - For a quality outcome, it is recommended to have at least one transparent pixel around the needle image (or any other rotating image) to prevent unexpected visual distortions.